A Delicious Twist on a Classic Dessert You Can Make at Home
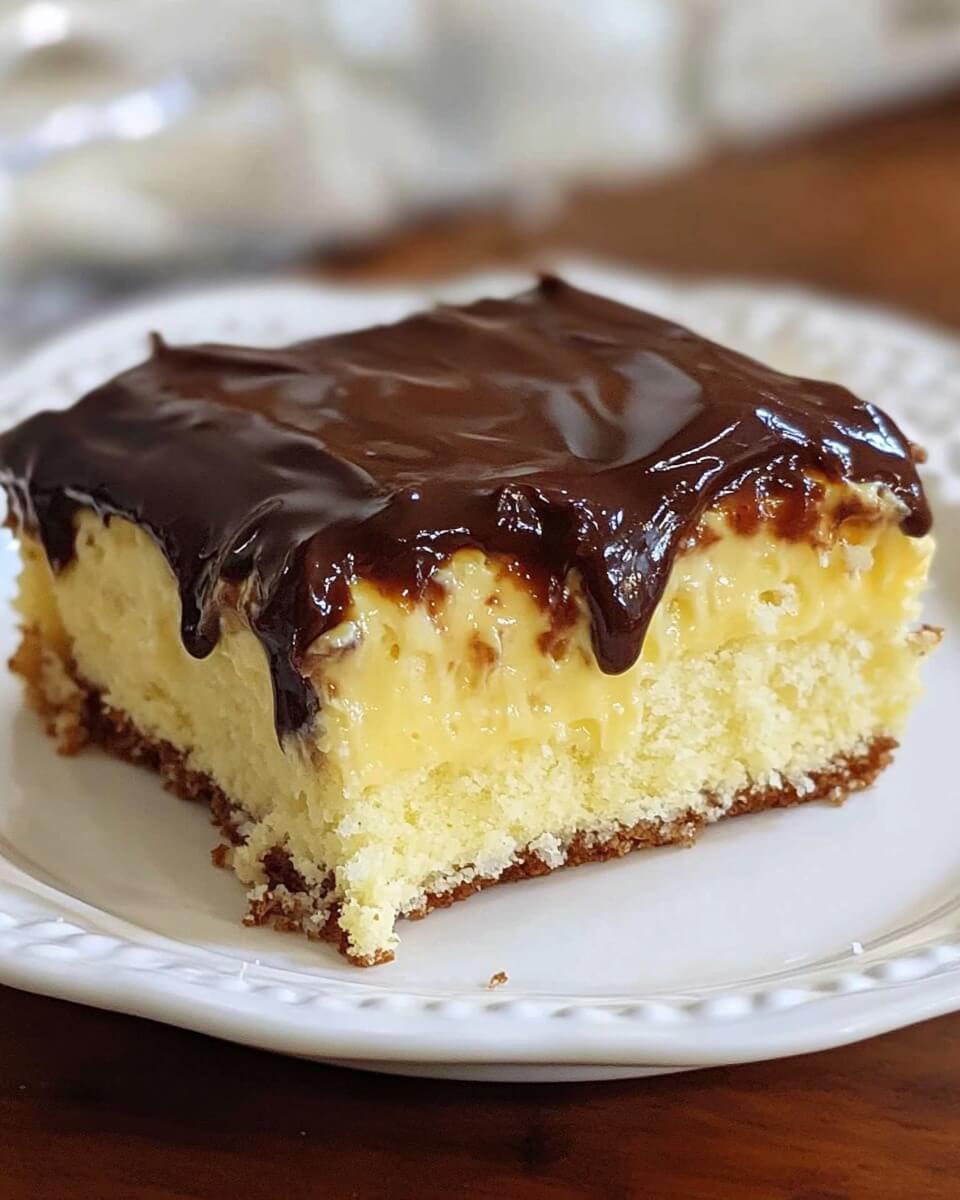
If you’re looking for a dessert that’s rich, indulgent, and easy to make, the Boston Cream Poke Cake is the perfect choice. This recipe takes the classic flavors of a Boston cream pie and transforms them into a soft, creamy poke cake that’s perfect for any occasion—whether it’s a family gathering, a holiday potluck, or just a sweet treat to enjoy at home.
So roll up your sleeves, grab your baking dish, and let’s dive into this foolproof recipe that will have everyone coming back for seconds!
Tools Needed, Servings, and Cooking Time
Tools You’ll Need:
- 9×13-inch baking dish
- Mixing bowls
- Whisk
- Saucepan
- Spatula
- Wooden spoon or straw
- Measuring cups and spoons
Serves: 12-15 people
Prep Time: 20 minutes
Cook Time: 30 minutes
Chill Time: 3 hours
Total Time: 3 hours 50 minutes
Ingredients
For the Cake:
- 1 box yellow cake mix (plus ingredients required on the box, such as eggs, water, and oil)
For the Pudding Filling:
- 2 boxes (3.4 ounces each) instant vanilla pudding mix
- 4 cups cold milk
For the Chocolate Glaze:
- 1 cup heavy cream
- 8 ounces semi-sweet chocolate chips
- 2 tablespoons corn syrup (optional, for a shinier glaze)
- 1 teaspoon vanilla extract
Step-by-Step Instructions
1. Bake the Cake
Preheat your oven as directed on the cake mix box. Grease a 9×13-inch baking dish thoroughly. Prepare the cake mix according to the instructions on the box, mixing in eggs, oil, and water as required. Pour the batter into the greased dish and bake it until golden and a toothpick inserted in the center comes out clean—usually around 25-30 minutes depending on your oven. Once done, let it cool for about 15 minutes.
2. Poke the Cake
After the cake has cooled slightly, use the handle of a wooden spoon or a straw to poke holes all over the surface of the cake. Space them about 1 inch apart and make sure each hole goes down nearly to the bottom of the cake. This is essential to ensure the pudding filling seeps through every layer, creating that iconic creamy texture.
3. Prepare the Pudding Mixture
In a large mixing bowl, whisk together both boxes of instant vanilla pudding mix with 4 cups of cold milk. Whisk for 1-2 minutes until the mixture is smooth and just beginning to thicken. Don’t let it set too long—pour it over the cake while it’s still pourable. Carefully spread the pudding over the cake, using a spatula to press it into the holes. Smooth the top evenly. Place the cake in the refrigerator and chill for at least 1 hour so the pudding can firm up.
4. Make the Chocolate Glaze
In a small saucepan, bring the heavy cream to a gentle simmer over medium heat. Remove it from the heat and immediately add the chocolate chips. Let them sit for 2-3 minutes to melt, then whisk the mixture until smooth and glossy. Stir in the corn syrup and vanilla extract if you’re using them. The corn syrup isn’t necessary, but it gives the glaze a beautiful shine.
5. Glaze the Cake
Once the pudding layer is set, pour the chocolate glaze evenly over the top of the cake. Use a spatula to spread it out so it covers the entire surface. Make sure the glaze is distributed evenly for a beautiful finish. Place the cake back in the refrigerator and chill for at least 2 more hours, or until the chocolate is fully set.
6. Serve
Slice the cake into squares and serve chilled. The creamy pudding, fluffy cake, and smooth chocolate glaze combine into a dessert that’s rich and utterly irresistible.
Tips for Recipe Success
- Let the cake cool before poking holes: This prevents the cake from falling apart when you poke it.
- Use instant pudding: It sets faster and doesn’t require cooking, making the process simpler.
- Don’t skip chilling: The longer the cake sits in the fridge, the better the layers set and the flavors meld together.
- Use high-quality chocolate chips: This ensures a smooth, rich chocolate glaze.
- Refrigerate overnight for best results: This allows the cake to absorb the pudding fully and the glaze to set perfectly.
Serving and Storage Tips
Serving:
This cake is best served cold, straight from the fridge. The flavors are more pronounced and refreshing when chilled. Garnish with a dollop of whipped cream or a sprinkle of grated chocolate for an extra special touch.
Storage:
Cover any leftovers tightly with plastic wrap or transfer them to an airtight container. Store in the refrigerator for up to 4-5 days. This cake does not freeze well due to the pudding layer.
Frequently Asked Questions (FAQ)
1. Can I make Boston Cream Poke Cake ahead of time?
Yes! In fact, it’s even better when made a day ahead. The flavors meld together beautifully overnight in the fridge.
2. Can I use homemade pudding instead of instant?
You can, but make sure it’s thick enough to set properly and won’t make the cake soggy. Instant pudding is recommended for ease and consistency.
3. What type of chocolate chips should I use?
Semi-sweet chocolate chips work best, but you can use dark or milk chocolate depending on your preference.
4. Can I use a different flavor of cake mix?
Yellow cake is traditional for this recipe, but you can also use white or even chocolate cake for a fun twist.
5. Why did my pudding not set properly in the cake?
Make sure you use cold milk and allow the pudding to thicken slightly before pouring it over the cake. Also, be sure to refrigerate the cake long enough so it fully sets.
Conclusion
The Boston Cream Poke Cake is everything you love about the classic pie—rich vanilla custard, tender cake, and glossy chocolate glaze—in an easy-to-make, crowd-pleasing format. With minimal ingredients and steps, this dessert is perfect for bakers of all levels.
Whether you’re preparing it for a party or just to treat yourself and your family, it’s a guaranteed hit every time. Don’t forget to chill it well, slice generously, and savor every bite of this creamy, dreamy delight.
