Cool Down with This Classic Recipe Made From Fresh, Juicy Peaches
If you’re looking for a sweet, creamy, and refreshing way to beat the heat, homemade peach ice cream is exactly what you need. Bursting with the flavor of ripe peaches and rich dairy, this recipe is the ultimate summer treat for families, friends, and anyone who craves something special.
Made with real fruit and pantry staples, it’s a no-fuss recipe that doesn’t skimp on flavor. Whether you’re hosting a backyard barbecue, planning a weekend picnic, or simply indulging your sweet tooth, this peach ice cream is sure to be a hit.
Ready to churn up some smiles? Let’s make this homemade peach ice cream your new summer tradition. Scroll down for all the details and tips to make it perfect!
Tools Needed, Yield, and Cooking Time
Before we dive in, let’s get everything in place for a smooth process.
Tools You’ll Need:
- Large mixing bowls
- Blender or food processor
- Whisk
- Ice cream maker
- Freezer-safe container with lid
- Measuring cups and spoons
Servings:
This recipe makes approximately 2 quarts of ice cream, which serves 8 to 10 people generously.
Time Required:
- Prep Time: 20 minutes
- Chill Time: 5 hours
- Total Time: 5 hours 20 minutes
Ingredients
To make this rich and flavorful peach ice cream, gather the following:
- 2 pounds fresh peaches, peeled, pitted, and chopped
- 1 cup white sugar
- 1 pint half-and-half cream
- 1 can (14 oz) sweetened condensed milk
- 1 can (12 oz) evaporated milk
- 1 teaspoon vanilla extract
- 2 cups whole milk, or as needed to reach desired consistency
Step-by-Step Instructions
Step 1: Prepare the Peaches
Start by placing the chopped peaches into a large bowl. Sprinkle the sugar over the fruit and stir to coat evenly.
Let the peaches sit at room temperature for about 1 hour. This resting time helps draw out the natural juices from the peaches, enhancing their sweetness and flavor.
Step 2: Puree the Fruit
After the peaches have released their juices, transfer the mixture into a blender or food processor.
Blend until the texture is mostly smooth—some small peach chunks are perfectly fine and add a lovely texture to the finished ice cream.
Step 3: Mix the Ice Cream Base
In a separate large bowl, combine the half-and-half, sweetened condensed milk, evaporated milk, and vanilla extract.
Add the peach puree to the bowl and stir thoroughly to blend all the ingredients.
Step 4: Adjust Consistency
Check the total volume of your mixture. Most home ice cream makers have a maximum fill line—make sure not to exceed it.
Add whole milk as needed (typically around 2 cups) until you reach the right consistency and volume for your machine.
Step 5: Freeze the Ice Cream
Pour the mixture into your ice cream maker and churn according to the manufacturer’s instructions.
Depending on your machine, this process can take between 20 to 45 minutes, or until the ice cream reaches a soft-serve texture.
Step 6: Set the Ice Cream
Transfer the soft ice cream into a freezer-safe container.
Cover with a lid or plastic wrap and freeze for at least 4 hours to firm it up.
Step 7: Serve and Enjoy
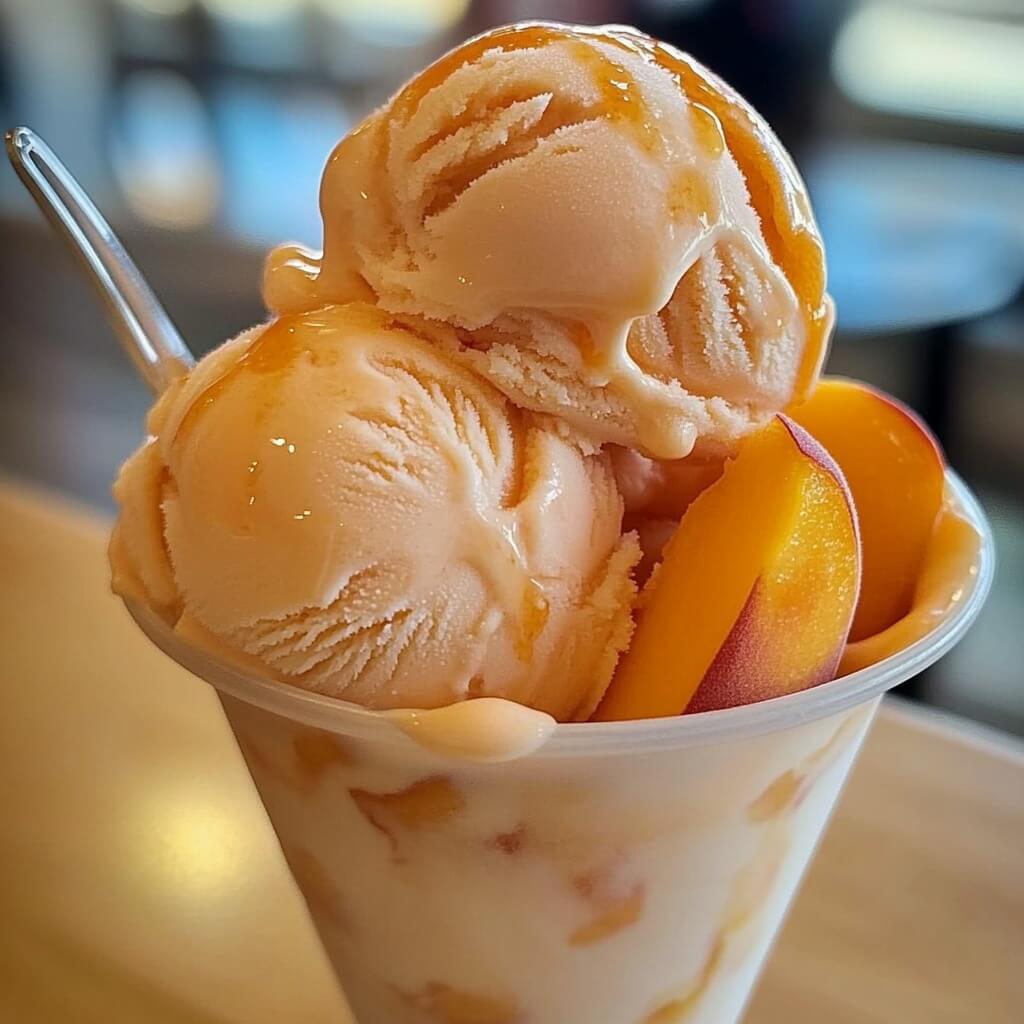
Scoop into bowls or cones and serve as is—or top with extra chopped peaches for a juicy finish.
Tips for Success
- Choose Ripe Peaches: For the best flavor, use fully ripe peaches that are fragrant and soft to the touch.
- Pre-chill Ingredients: For a faster freeze time, chill your dairy ingredients before mixing.
- Don’t Overfill the Machine: Always stay within the max fill line of your ice cream maker to avoid overflow.
- Taste the Base: Before freezing, taste your mixture to ensure it’s sweet enough. Add more sugar if needed.
- Let It Set Properly: Soft-serve ice cream is delicious, but for classic scoopable texture, let it freeze for at least 4 hours.
Serving and Storage Tips
Serving Suggestions:
- Serve in chilled bowls to slow down melting.
- Garnish with fresh peach slices, mint leaves, or a drizzle of honey for a gourmet twist.
- Pair it with pound cake or shortbread cookies for an elegant dessert.
Storage Tips:
- Store in an airtight container to prevent freezer burn.
- Use within 2 weeks for the best texture and flavor.
- To scoop easily, let the container sit at room temperature for 5–10 minutes before serving.
Frequently Asked Questions
1. Can I use canned or frozen peaches instead of fresh?
Yes, you can substitute canned or frozen peaches. If using canned, choose ones packed in juice, not syrup, and drain them well. If using frozen, thaw and drain before using.
2. What if I don’t have an ice cream maker?
You can still make this recipe! Pour the mixture into a shallow pan and freeze. Stir every 30 minutes for 2–3 hours to break up ice crystals until it’s creamy.
3. Can I make this dairy-free?
Yes, replace the dairy with plant-based alternatives like coconut cream, almond milk, and a dairy-free sweetened condensed milk. The texture may vary slightly, but it will still be delicious.
4. Why is my ice cream icy and not creamy?
This can happen if there’s too much water content or not enough fat. Be sure to use whole milk and rich creams, and avoid over-pureeing the fruit, which can add extra liquid.
5. Can I add mix-ins like nuts or cookie pieces?
Absolutely. After the ice cream is churned to soft-serve stage, gently fold in crushed cookies, chopped nuts, or even bits of white chocolate before freezing to set.
Conclusion
Homemade peach ice cream is more than just a dessert—it’s a sweet memory waiting to happen. With its rich, velvety texture and naturally sweet fruit flavor, it’s a refreshing way to celebrate summer’s bounty or bring a taste of sunshine to your table any time of year.
Whether you serve it in cones at a cookout or scoop it into bowls after dinner, this creamy peach treat is guaranteed to impress. And the best part? You made it yourself, from scratch, with love.
Ready to taste the joy of homemade ice cream? Get your peaches, plug in your ice cream maker, and create something unforgettable. Happy churning!
