Introduction
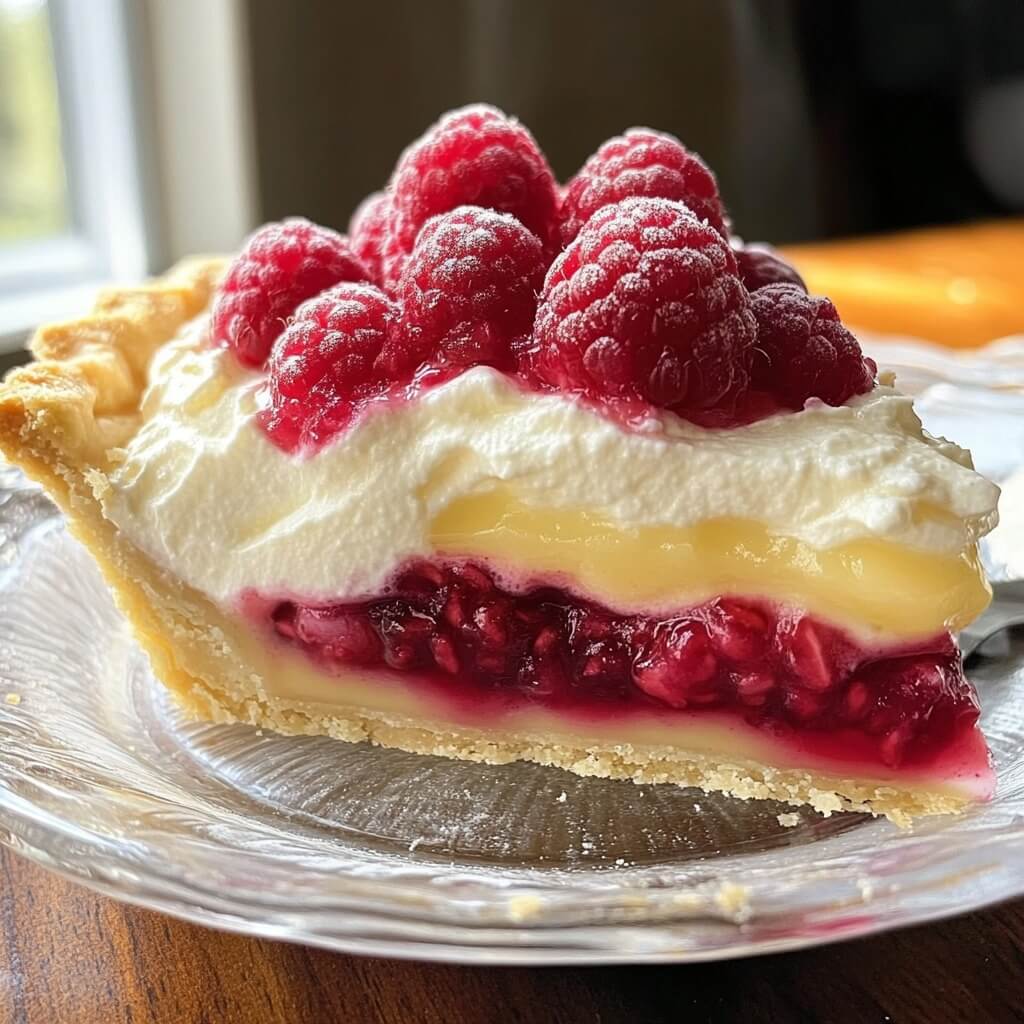
Desserts have a way of bringing people together. And few desserts are as cheerful and refreshing as a lemon raspberry layered pie. The flavor pairing is bright and balanced—tangy lemon meets sweet, juicy raspberries, all cradled in a crunchy graham cracker crust and topped with light whipped cream.
This pie isn’t just about good looks (although it’s stunning). It’s easy to prepare, uses simple ingredients, and makes an ideal make-ahead dessert. If you’re tired of the usual cakes and cookies, give this creamy, fruity masterpiece a spot at your table.
Tools Needed, Servings, and Cooking Time
Tools You’ll Need:
- 9-inch pie pan
- Mixing bowls
- Whisk
- Saucepan
- Rubber spatula
- Hand or stand mixer (for whipped topping)
- Measuring cups and spoons
- Oven and stovetop
Serves: 8 slices
Prep Time: 25 minutes
Bake Time: 25 minutes
Chill Time: 4 hours
Total Time: About 5 hours (including chilling)
Ingredients
For the Crust:
- 2 cups crushed graham crackers
- ½ cup melted butter
- ¼ cup granulated sugar
For the Lemon Layer:
- 1 can (14 oz) sweetened condensed milk
- ½ cup fresh lemon juice
- 1 tablespoon lemon zest
- 2 egg yolks
For the Raspberry Layer:
- 1½ cups fresh raspberries
- ¼ cup honey or granulated sugar
- 1 tablespoon cornstarch
- 2 tablespoons water
For the Whipped Topping:
- 1 cup heavy cream
- 2 tablespoons powdered sugar
- 1 teaspoon vanilla extract
Step-by-Step Instructions
Step 1: Make the Graham Cracker Crust
Preheat your oven to 350°F (175°C).
In a medium mixing bowl, stir together the crushed graham crackers, melted butter, and sugar until the mixture resembles wet sand.
Press the mixture evenly into the bottom and up the sides of your pie pan to form a firm crust.
Bake the crust for 10 minutes, then remove it from the oven and let it cool completely. This gives you a solid base that won’t get soggy once filled.
Step 2: Prepare the Lemon Layer
In a large bowl, combine the sweetened condensed milk, fresh lemon juice, lemon zest, and egg yolks. Whisk until everything is smooth and well incorporated.
Pour this mixture into your cooled graham cracker crust and spread evenly.
Bake the pie at 350°F for 15 minutes, just enough for the lemon filling to slightly firm up.
Once baked, allow it to cool at room temperature before transferring it to the fridge to chill while you make the raspberry layer.
Step 3: Make the Raspberry Layer
In a small saucepan over medium heat, combine the raspberries, honey (or sugar), cornstarch, and water.
Stir frequently, breaking down the berries with a spoon as they cook. Within 5–7 minutes, the mixture should thicken into a raspberry sauce.
Remove the pan from the heat and allow the raspberry layer to cool completely.
When cooled, pour the raspberry sauce over the lemon layer. Use a spatula to spread it evenly across the top. Then return the pie to the refrigerator.
Step 4: Whip the Topping and Assemble
Before serving (or just after the pie has chilled for a few hours), prepare the whipped topping.
In a chilled mixing bowl, add the heavy cream, powdered sugar, and vanilla extract. Using a mixer, beat the cream until stiff peaks form—this should take about 3–5 minutes.
Gently spread the whipped cream over the raspberry layer in an even layer. Smooth the top or create decorative swirls, depending on your style.
Place the pie back in the refrigerator and chill for at least 4 hours, or overnight, to fully set.
Recommendations for Success
Here are some tried-and-true tips to help make this pie a dessert to remember:
- Use fresh lemon juice. Bottled juice doesn’t provide the same brightness or flavor as freshly squeezed lemons.
- Zest first, then juice. Always zest your lemons before you cut and squeeze them to make life easier.
- Chill for the full time. The pie needs a minimum of 4 hours in the fridge to set properly, especially the lemon and raspberry layers.
- Use fresh raspberries when possible. They cook down into a beautiful, rich sauce with the perfect texture.
- Make ahead for gatherings. This pie can be made a day in advance, which makes it perfect for stress-free entertaining.
Serving and Storage Tips
Serving:
This pie is best served cold, straight from the refrigerator. Use a sharp knife dipped in warm water to make clean slices.
Optional garnishes include:
- Fresh lemon slices
- Extra raspberries
- Mint leaves
- A sprinkle of extra lemon zest
Storage:
- In the fridge: Store covered with plastic wrap or foil for up to 4 days.
- Freezing not recommended: The whipped topping and lemon layer may separate or weep when thawed, so freezing is not ideal.
Frequently Asked Questions (FAQ)
1. Can I use store-bought whipped topping instead of homemade?
Yes, you can substitute store-bought whipped topping to save time. However, homemade whipped cream adds a richer flavor and better texture.
2. Can I use frozen raspberries?
Yes, frozen raspberries work in the raspberry layer. Thaw them first and drain off any excess liquid before cooking them down into a sauce.
3. How do I know when the lemon layer is set?
After baking, the lemon layer should have a slight jiggle in the center but be mostly firm. It will continue to set as it cools and chills in the fridge.
4. Can I make this pie gluten-free?
Absolutely. Use gluten-free graham crackers for the crust and ensure your cornstarch is certified gluten-free. The rest of the ingredients are naturally gluten-free.
5. What if I don’t have fresh lemons?
You can use bottled lemon juice in a pinch, but the flavor won’t be as bright. If using bottled juice, consider increasing the lemon zest to compensate.
Conclusion
This Lemon Raspberry Layered Pie is everything a dessert should be—light yet satisfying, tangy yet sweet, easy yet impressive. It’s the perfect balance of citrus and berry wrapped in a creamy, dreamy slice.
If you’re looking for a dessert that tastes like sunshine, brings smiles to everyone at the table, and is simple enough for a weekday treat yet elegant enough for a celebration—this is the one.
So go ahead, grab your lemons and raspberries, and make a pie that just might become your new go-to favorite. Happy baking!
